Triang No.77
New Roof
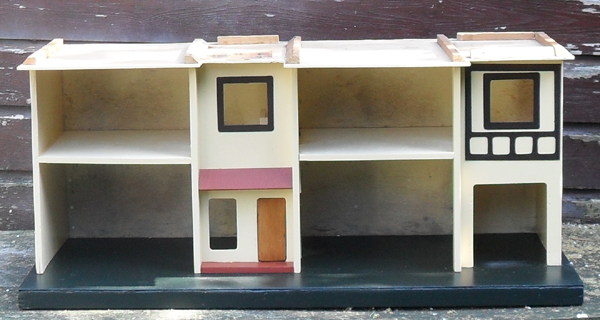
The repairs to the house have now been completed, and treated for woodworm. It has been repainted and has a new base. The next big project is to fit a roof.
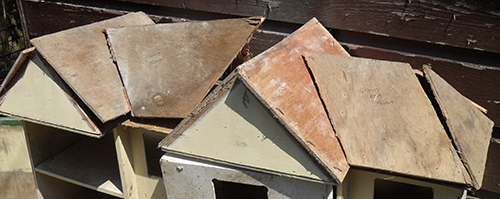
The house had a plywood roof which took a while to remove as it was well glued and nailed. I used each piece as templates for a new heavy-duty cardboard roof. Below is a picture of the panels that are needed to complete the roof. 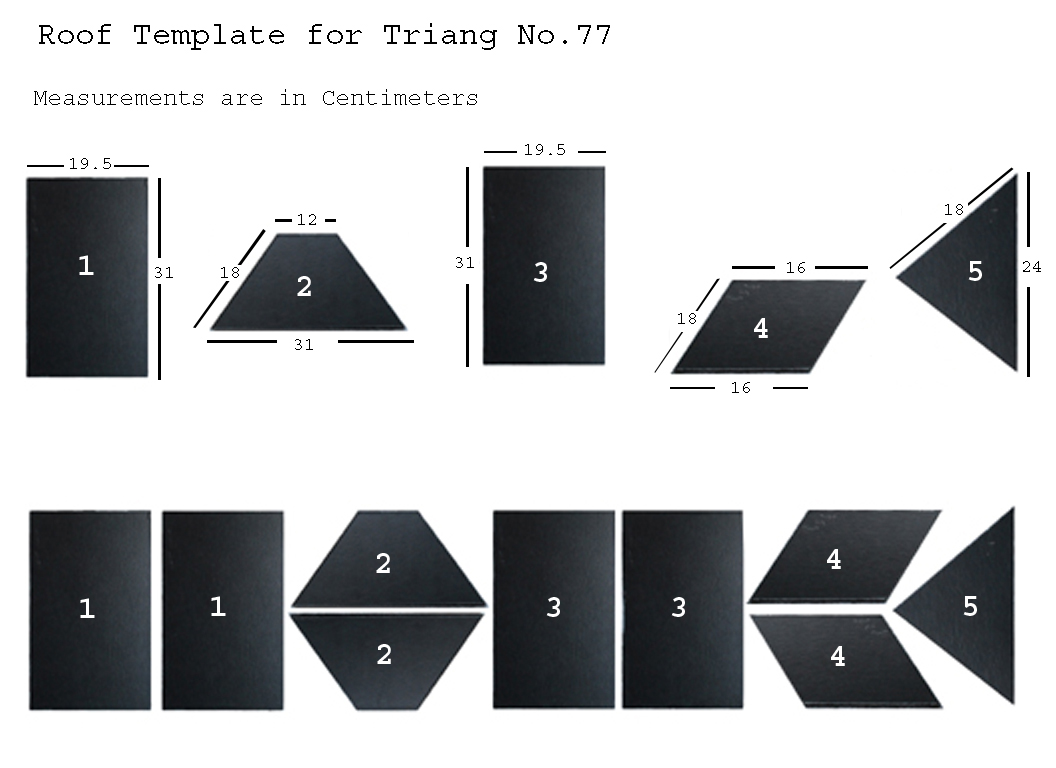
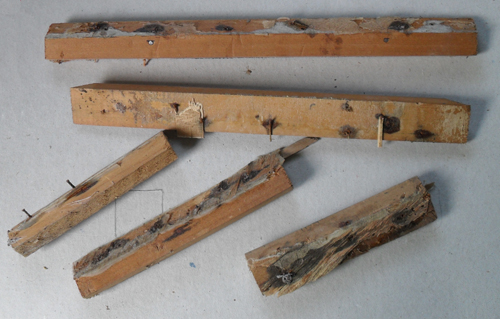
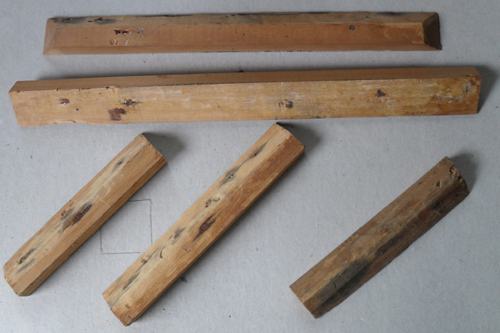
I removed the pieces of wood which held the roof panels in place, if I remove the glue from them, they will be able to be used again. It was one of those jobs I thought would be a good idea at the time, I am not sure what sort of glue it was, but it certainly was very hard.
The new panels have now all been cut out, but I needed to find a way of making a tile imprint pattern on them. I have made a tool from an old knife to do the job. It took me ages to cut this in half. The edge has been grinded down to make a fine line imprint.
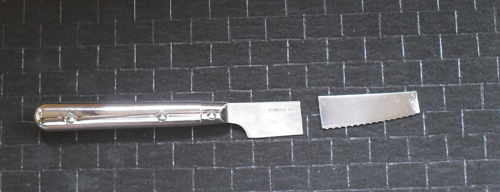
The end of the knife made the downward lines and the handle end made the across lines to form the tiles. This worked very well and even when the roof was painted, the lines can still be seen. It took quite a long time to complete all the roof panels, but I was very pleased with the result.
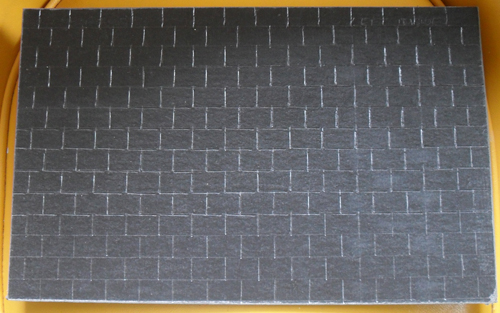
First of all I marked out the lines with a pencil and ruler, using my knife tool as a guide for size.
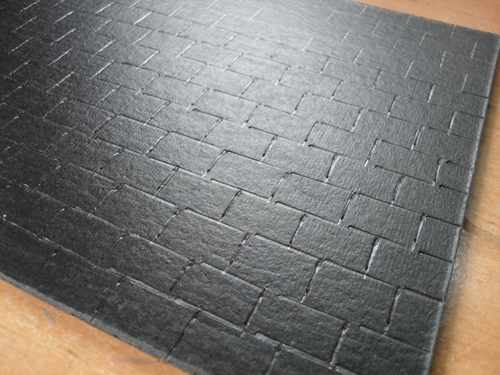
This is the finished roof panel after imprinting the tile marking. I think my knife tool worked quite well.
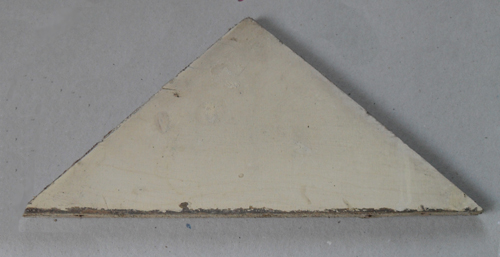
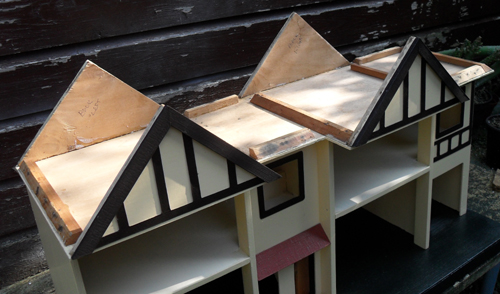
The triangular gable ends had no beams or edging on them. They had to be sanded and filled in various places, also some of the wood had split so needed to be glued together.
I used the measurements from my No.76 house, as this is the same size at the No.77, and made the beams and the roof edging.
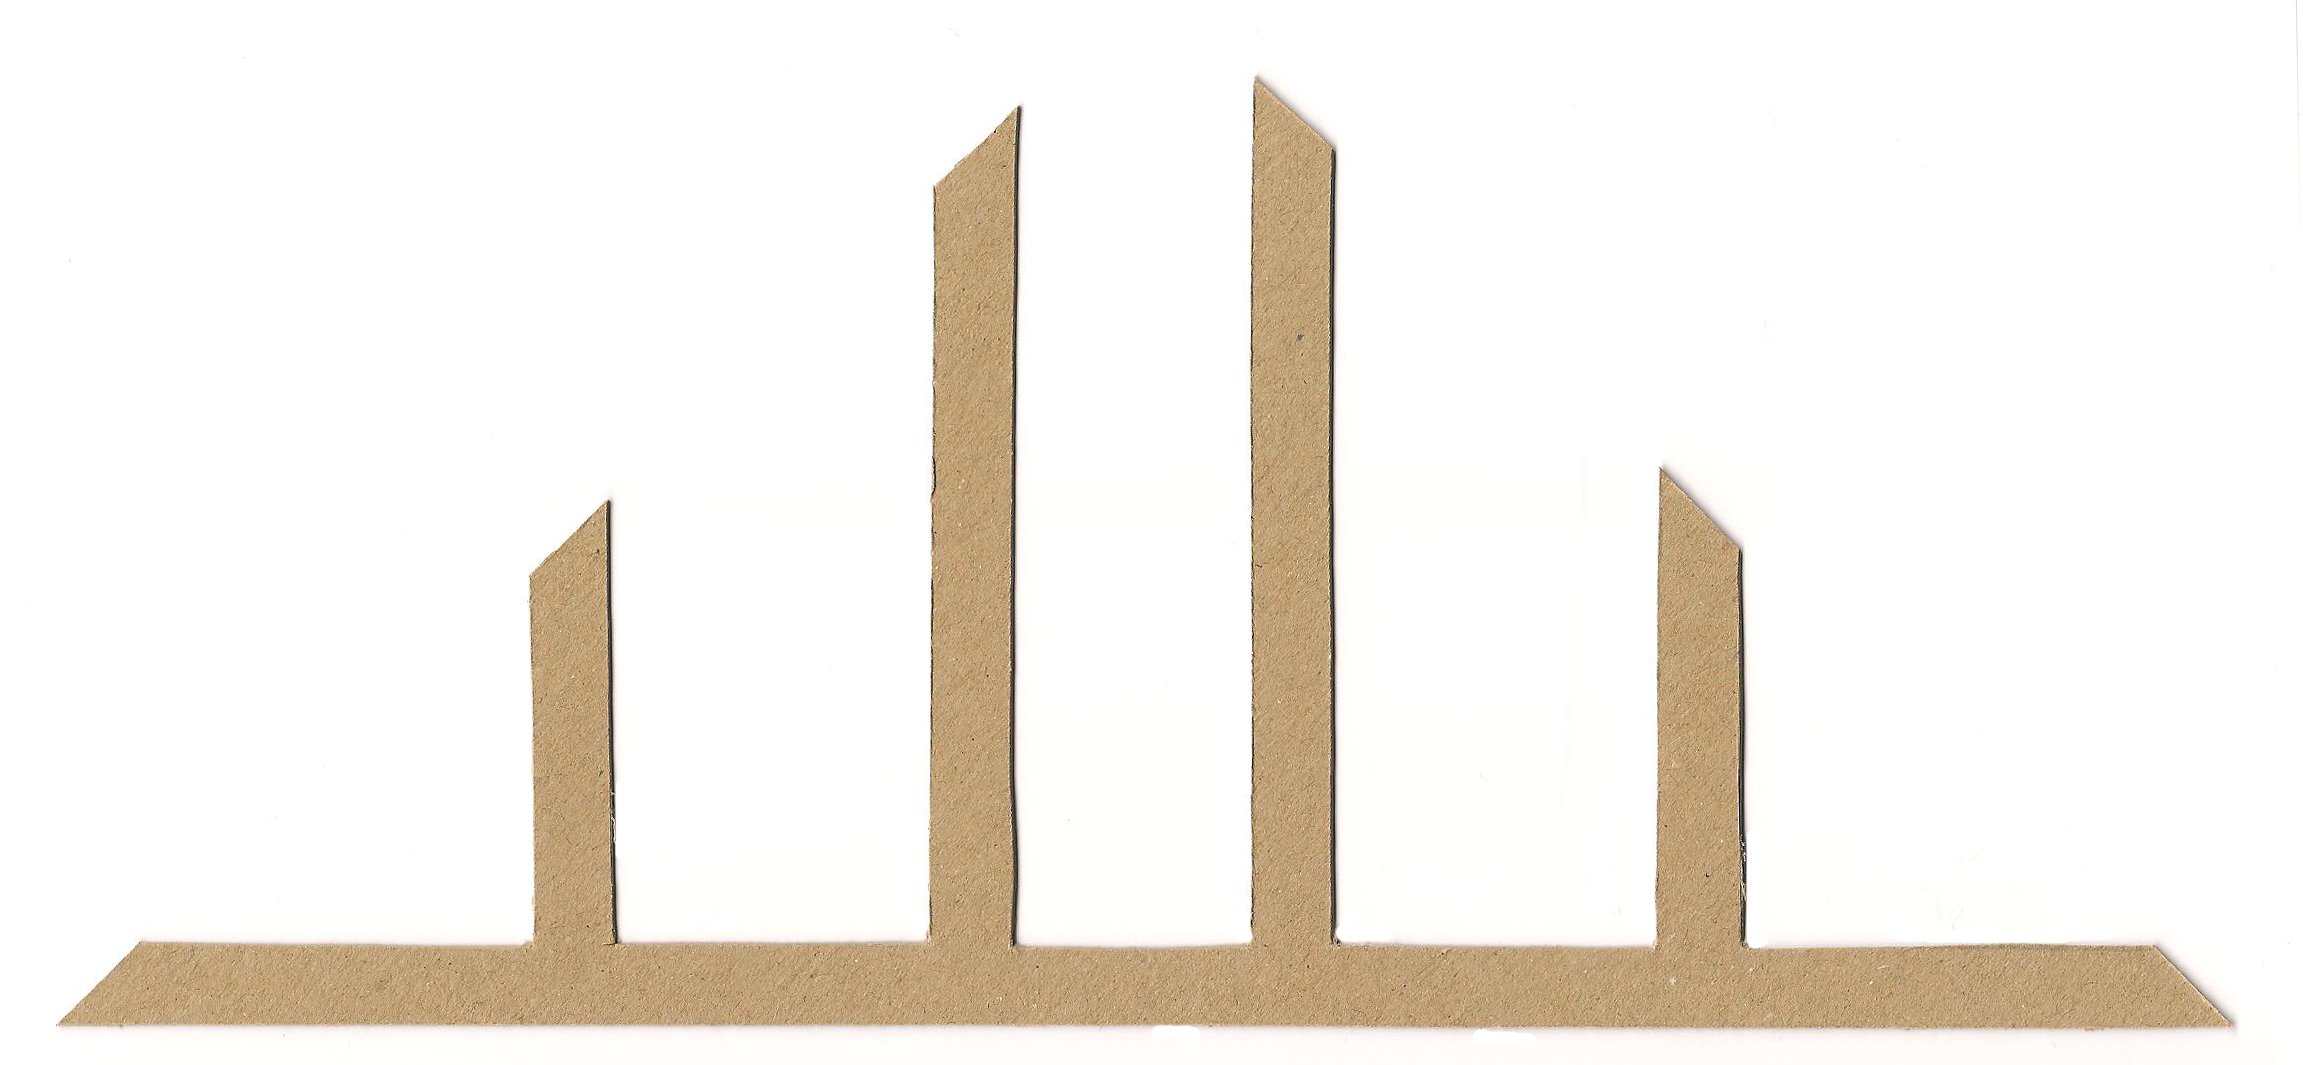
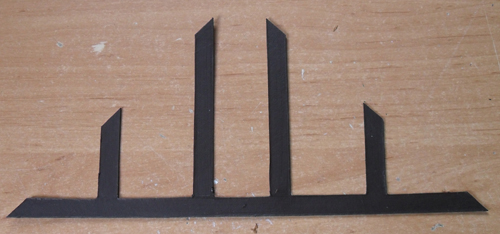
The beams are made out of stiff card, and them painted matt brown.
A roof edging was made using the same heavy-duty card as the roof.
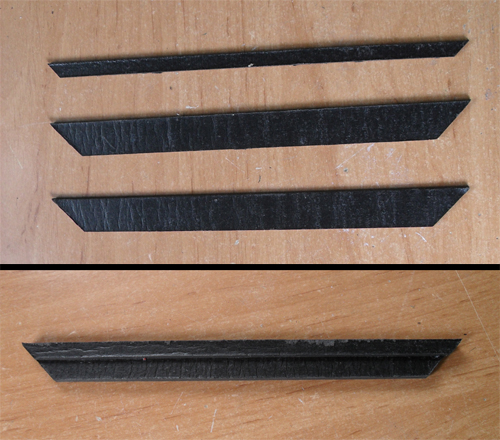
The card was built up in layers to make a gap for the new beams to fit into.

All the pieces were now ready to enable me to attach the roof to the house. The gable ends were fitted into place along with the strips of wood to support the roof panels.
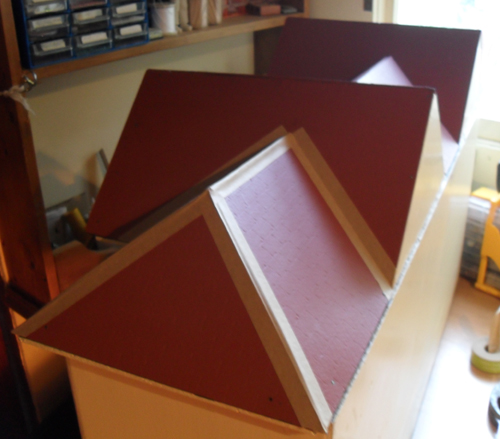
The roof panels have been painted are now ready to be fitted, the edges attached to the wooden strips with small nails and the roof panels finished of with gummed paper parcel tape.
Once the gummed parcel tape was dry I put on another coat of paint onto the roof and then sealed it with antique pine varnish. I find that this varnish softens the hardness of the brick colour, as it does not give an even finish.
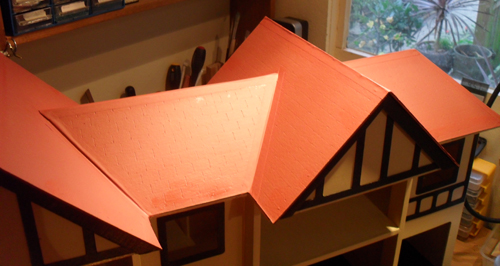 The roof is now complete. [It does look a bit orange in this picture, but it was getting dark when I took the picture and the flash makes it quite bright].
Does anyone know someone in the south west who restores Tri-ang 77 doll’s houses?
A tough assignment this one I think so good luck. I will enjoy watching the developments. Michelle